Lecture 3
Introduction
- So far, we’ve discussed how to build simple web pages using HTML and CSS, and how to use Git and GitHub in order to keep track of changes to our code and collaborate with others. We also familiarized ourselves with the Python programming language.
- Today, we’ll work on using Python’s
Djangoframework in order to create dynamic applications.
Web Applications
So far, all of the web applications we’ve written have been static. This means that every single time we open that web page, it looks exactly the same. Many websites we visit every day, however, change every time we visit them. If you visit the websites of the New York Times or Facebook, for example, you’ll most likely see different things today than you will tomorrow. For large sites like those, it would be unreasonable for employees to have to manually edit a large HTML file every time a change is made, which is where dynamic websites can be extremely useful. A dynamic website is one that takes advantage of a programming language (such as Python) to dynamically generate HTML and CSS files. During this lecture, we’ll learn how to create our first dynamic applications.
HTTP
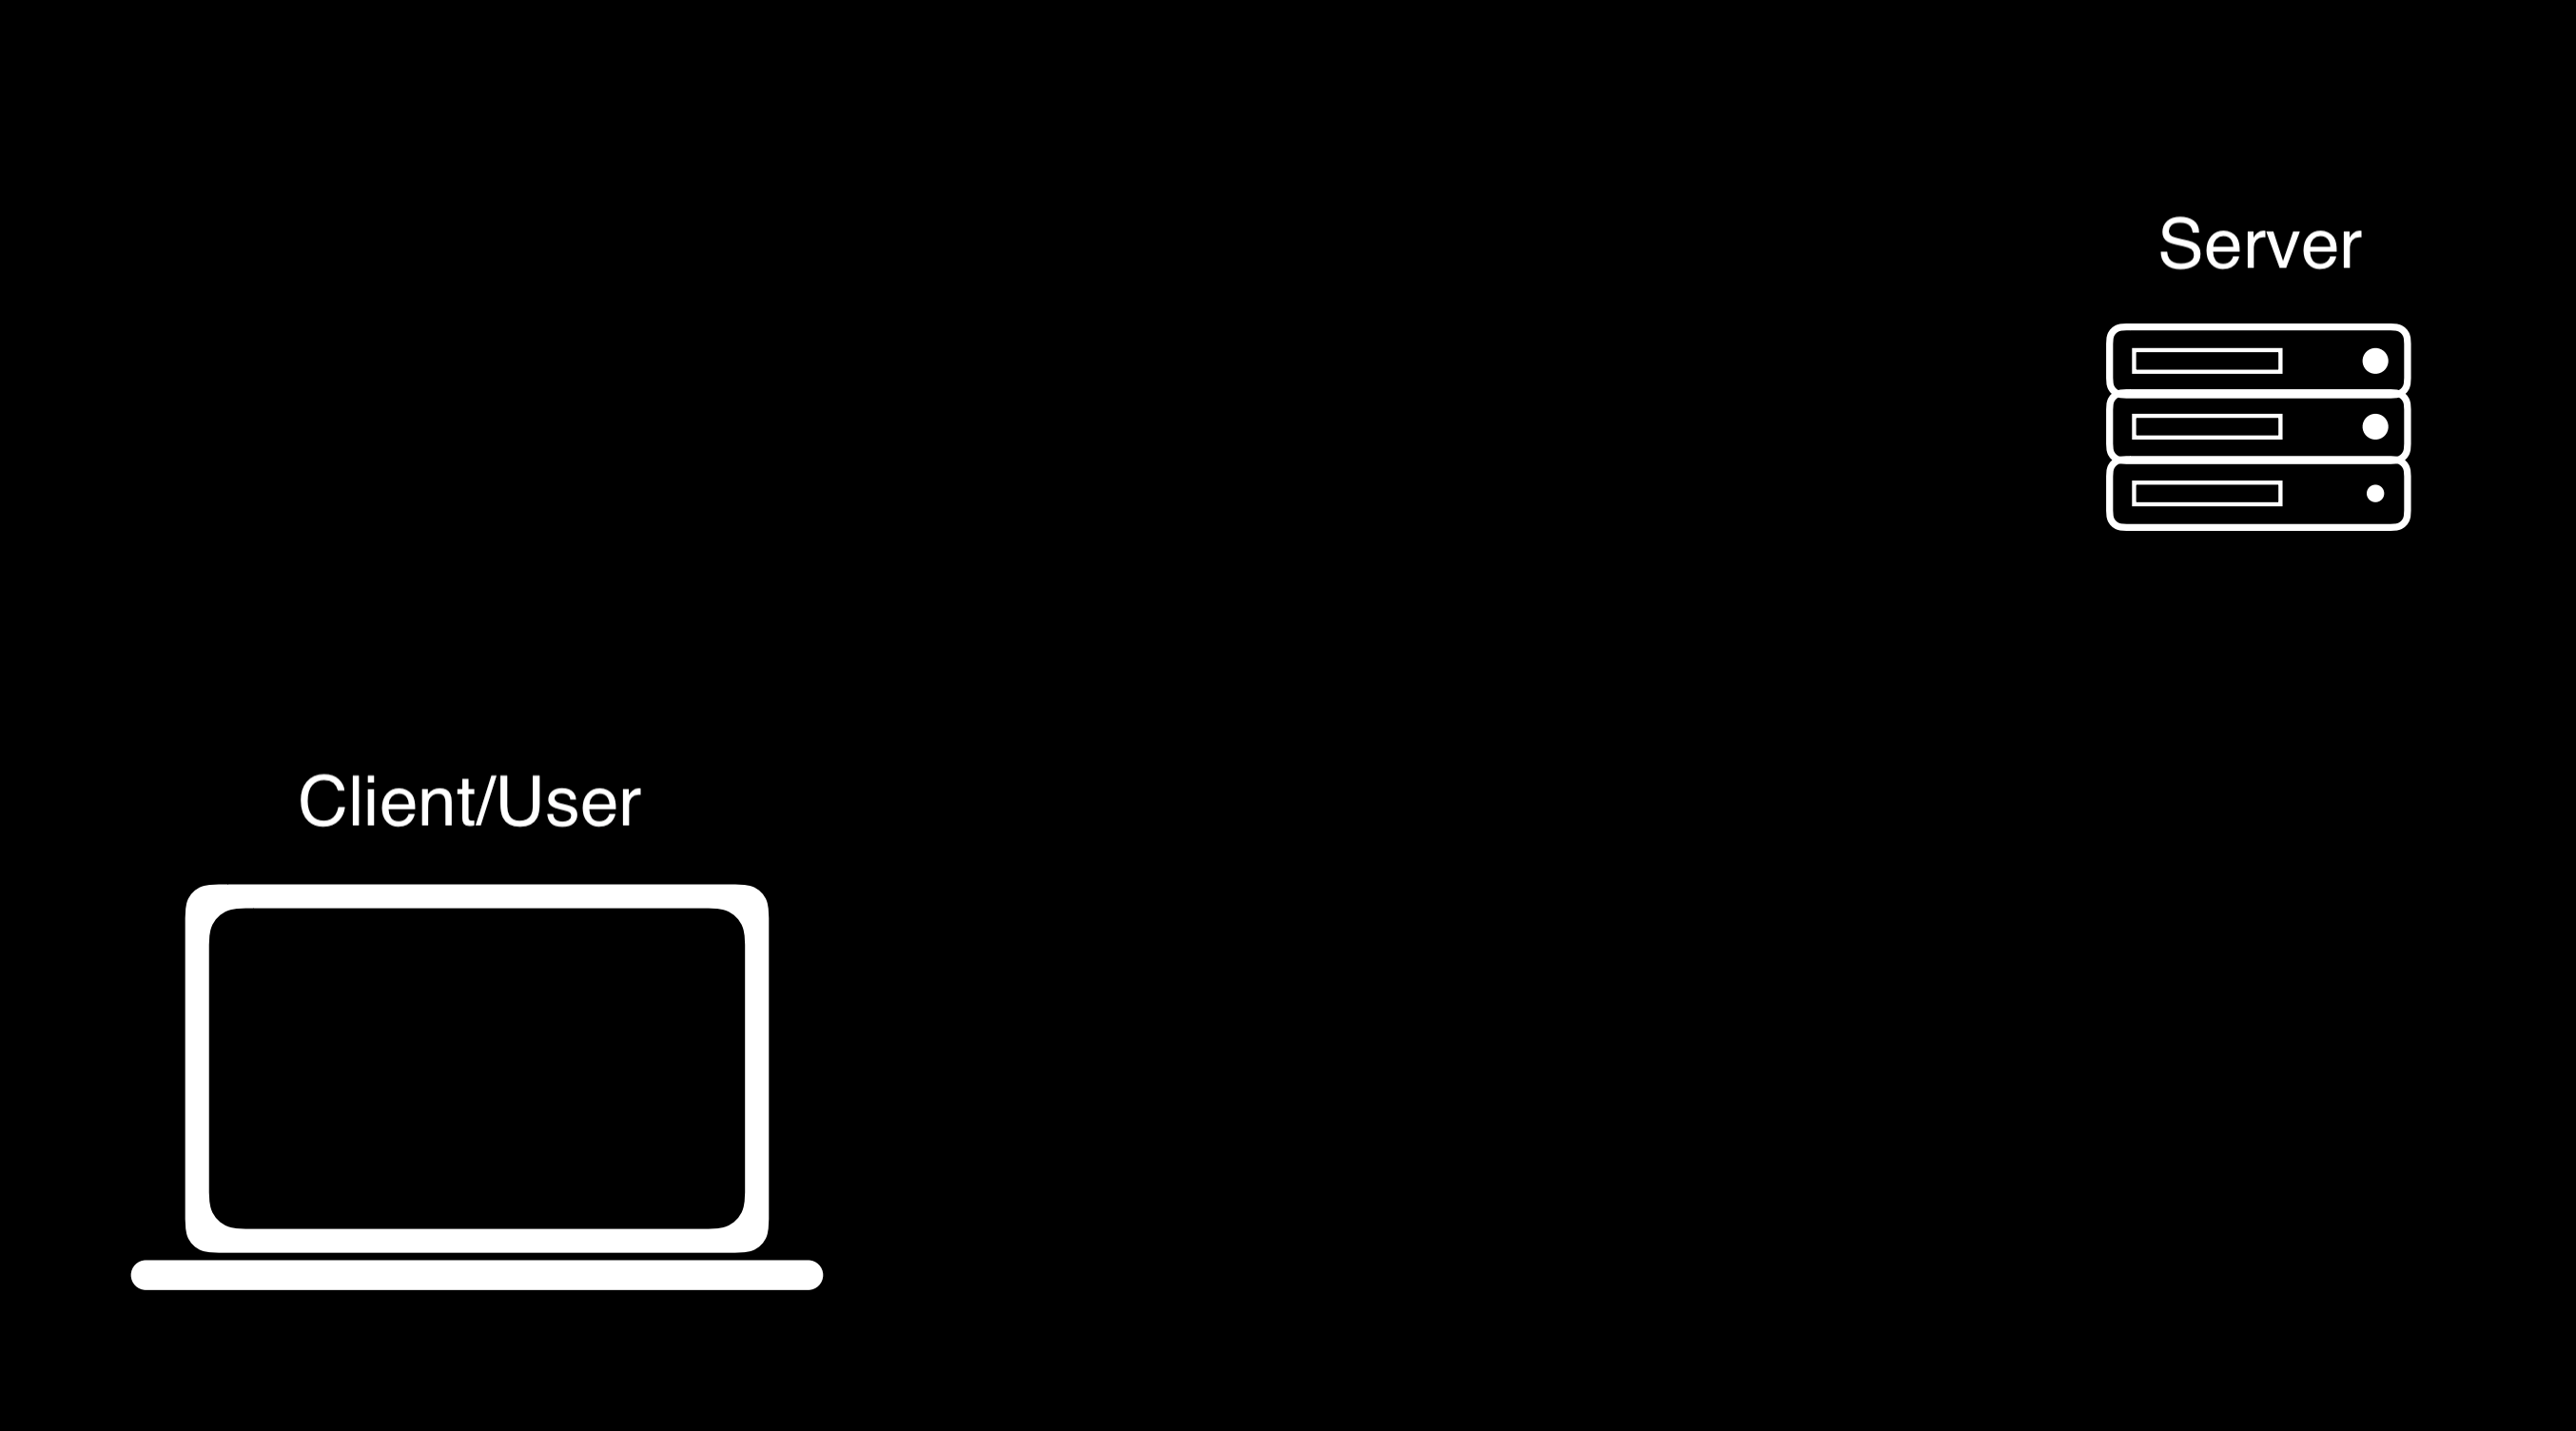
HTTP, or HyperText Transfer Protocol, is a widely-accepted protocol for how messages are transfered back and forth across the internet. Typically, information online is passed between a client (user) and a server.
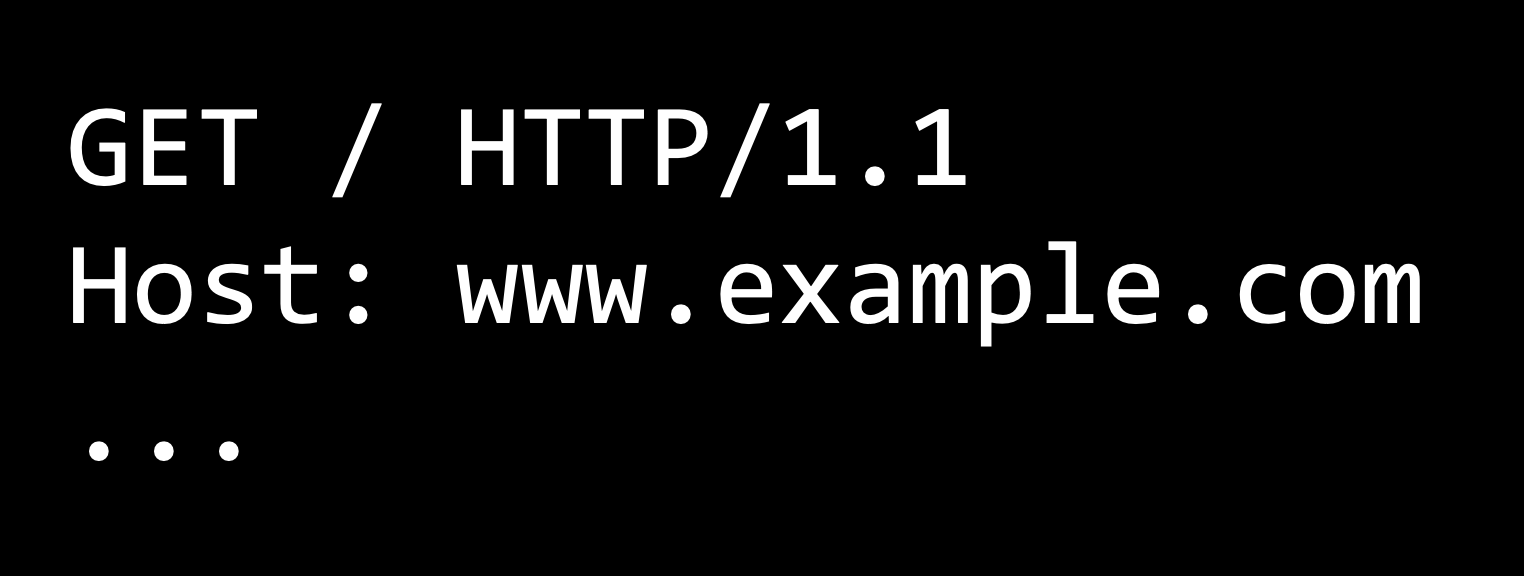
In this protocol, the client will send a request to the server, that might look something like the one below. In the example below, GET is simply a type of request, one of three we’ll discuss in this course. The / typically indicates that we’re looking for the website’s home page, and the three dots indicate that we could be passing in more information as well.
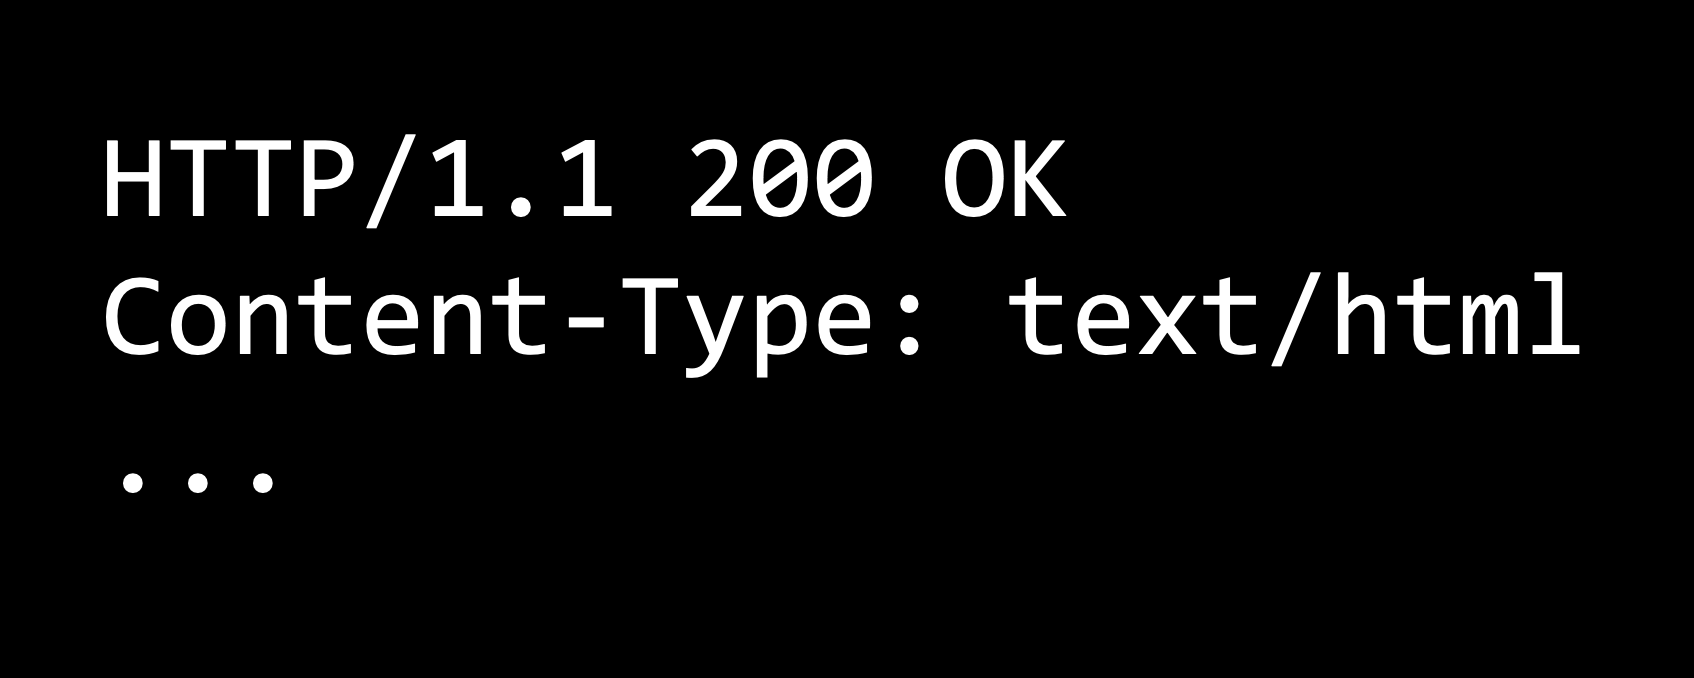
After receiving a request, a server will then send back an HTTP response, which might look something like the one below. Such a response will include the HTTP version, a status code (200 means OK), a description of the content, and then some additional information.
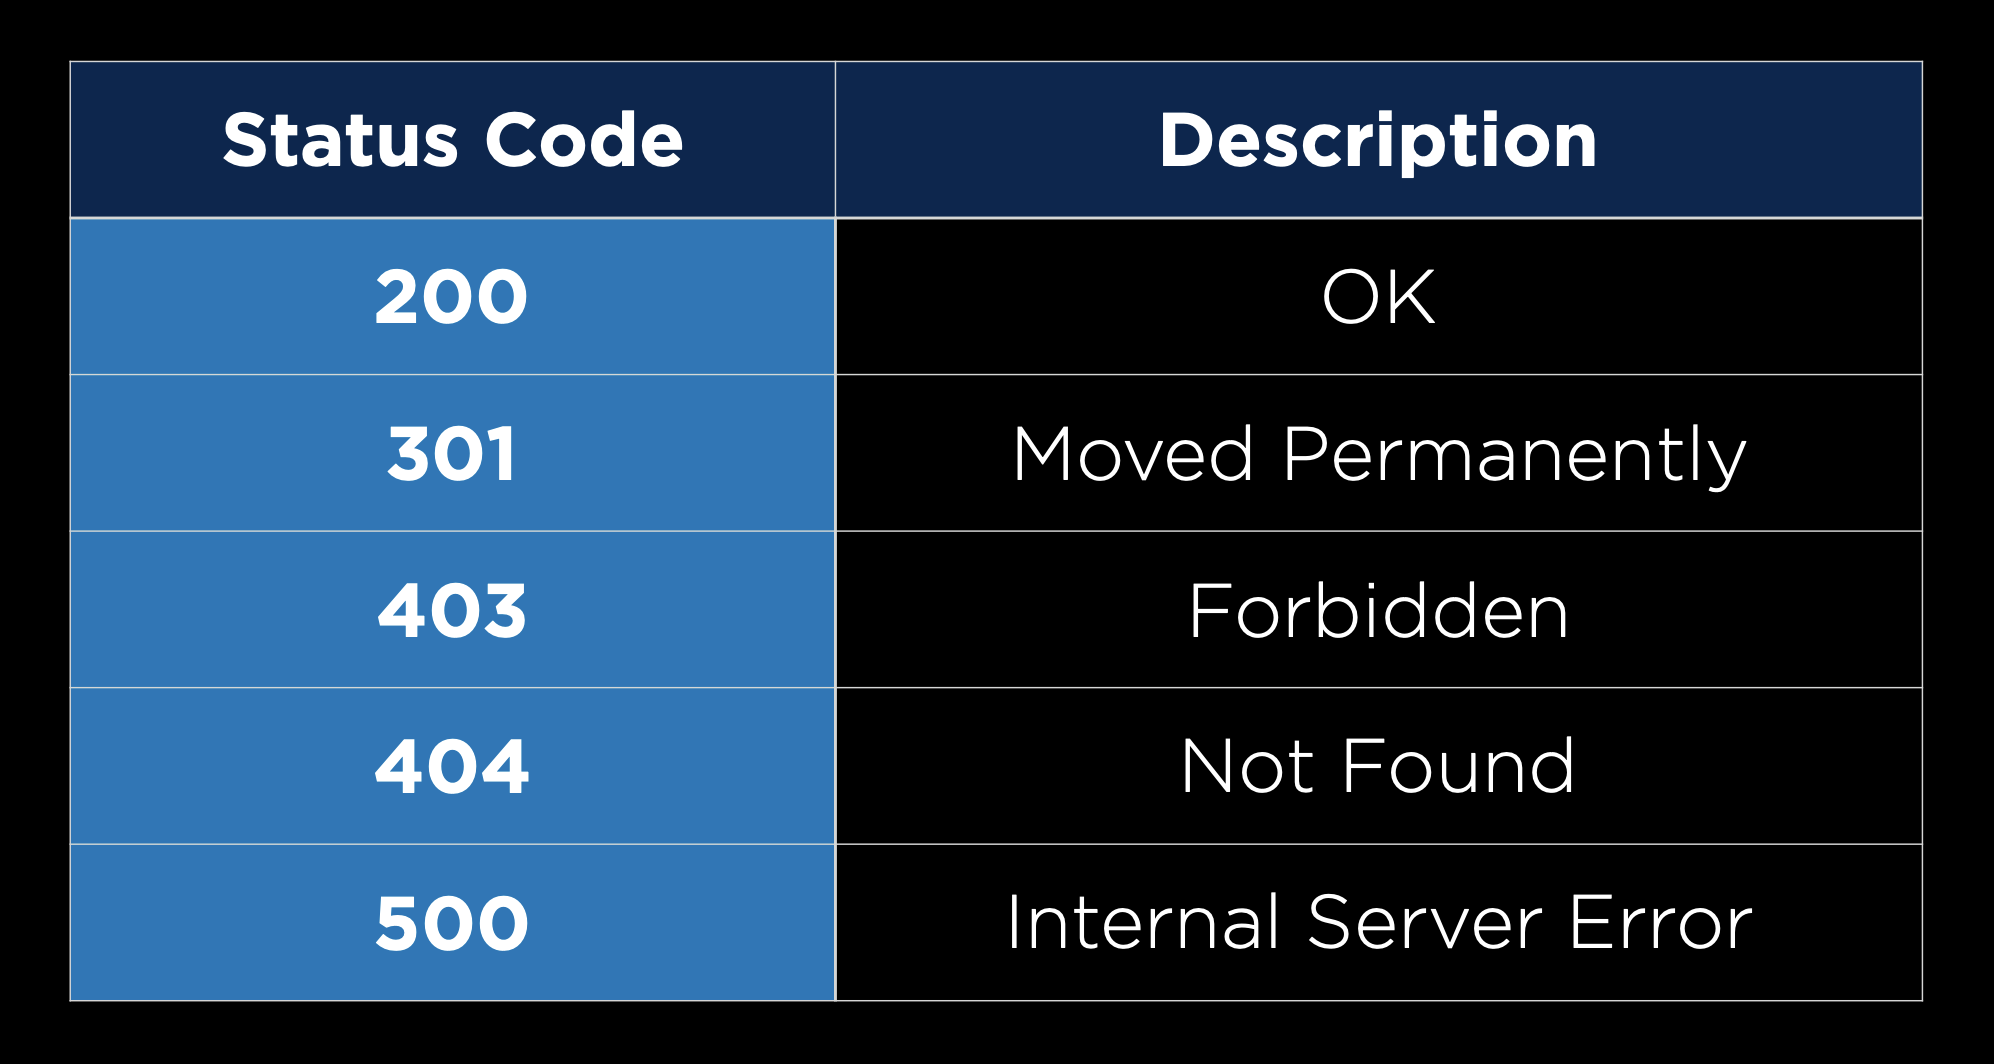
200 is just one of many status codes, some of which you may have seen in the past:
Django
Django is a Python-based web framework that will allow us to write Python code that dynamically generates HTML and CSS. The advantage to using a framework like Django is that a lot of code is already written for us that we can take advantage of.
- To get started, we’ll have to install Django, which means you’ll also have to install pip if you haven’t already done so.
- Once you have Pip installed, you can run
pip3 install Djangoin your terminal to install Django.
After installing Django, we can go through the steps of creating a new Django project:
- Run
django-admin startproject PROJECT_NAMEto create a number of starter files for our project. - Run
cd PROJECT_NAMEto navigate into your new project’s directory. - Open the directory in your text editor of choice. You’ll notice that some files have been created for you. We won’t need to look at most of these for now, but there are three that will be very important from the start:
-
manage.pyis what we use to execute commands on our terminal. We won’t have to edit it, but we’ll use it often. -
settings.pycontains some important configuration settings for our new project. There are some default settings, but we may wish to change some of them from time to time. -
urls.pycontains directions for where users should be routed after navigating to a certain URL.
-
- Start the project by running
python manage.py runserver. This will open a development server, which you can access by visiting the URL provided. This development server is being run locally on your machine, meaning other people cannot access your website. This should bring you to a default landing page: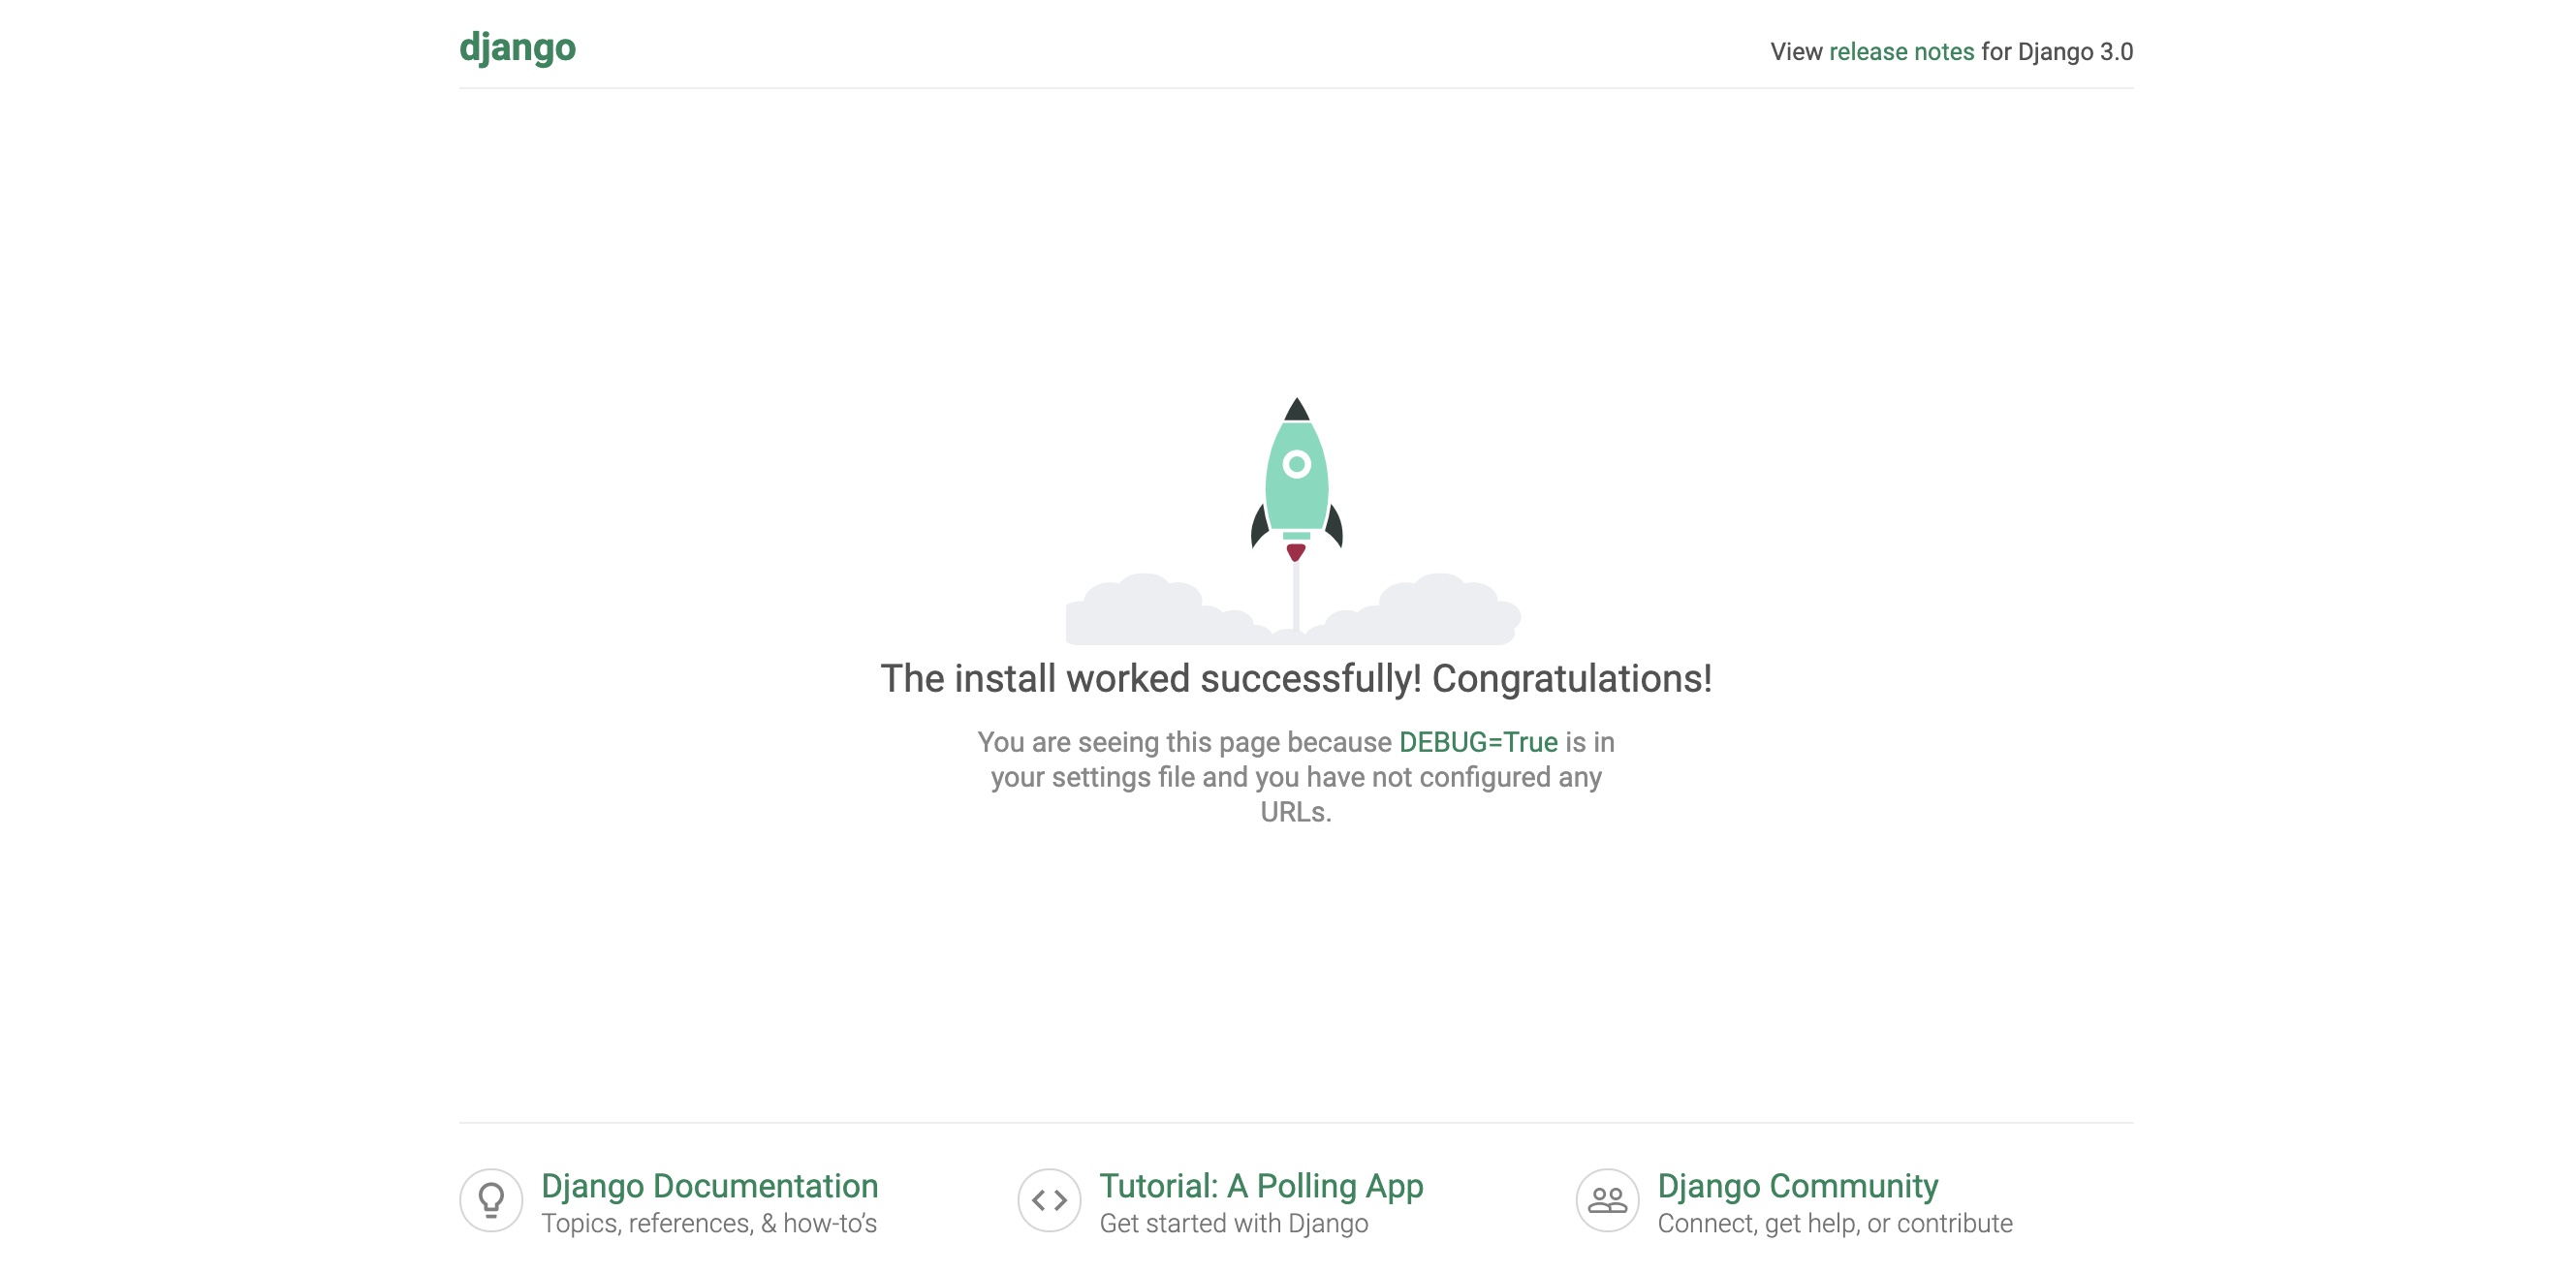
- Next, we’ll have to create an application. Django projects are split into one or more applications. Most of our projects will only require one application, but larger sites can make use of this ability to split a site into multiple apps. To create an application, we run
python manage.py startapp APP_NAME. This will create some additional directories and files that will be useful shortly, includingviews.py. - Now, we have to install our new app. To do this, we go to
settings.py, scroll down to the list ofINSTALLED_APPS, and add the name of our new application to this list.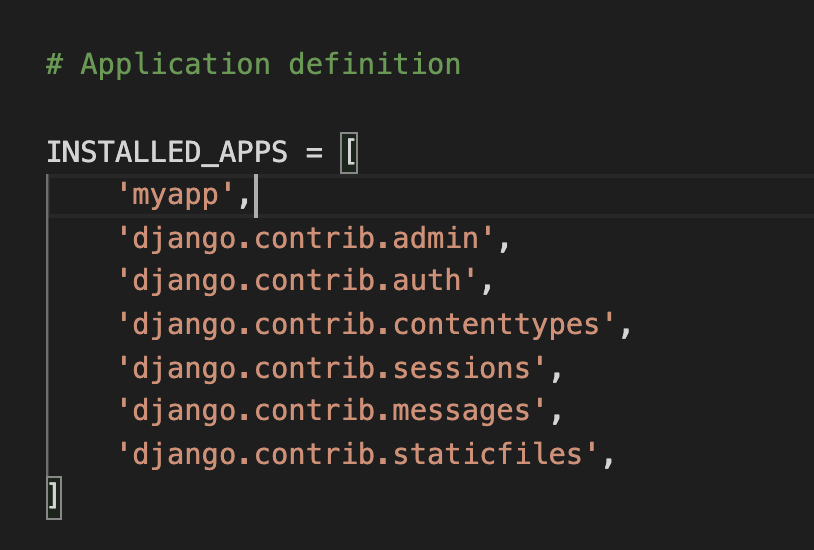
Routes
Now, in order to get started with our application:
-
Next, we’ll navigate to
views.py. This file will contain a number of different views, and we can think of a view for now as one page the user might like to see. To create our first view, we’ll write a function that takes in arequest. For now, we’ll simply return anHttpResponse(A very simple response that includes a response code of 200 and a string of text that can be displayed in a web browser) of “Hello, World”. In order to do this, we have includefrom django.http import HttpResponse. Our file now looks like:from django.shortcuts import render from django.http import HttpResponse # Create your views here. def index(request): return HttpResponse("Hello, world!") - Now, we need to somehow associate this view we have just created with a specific URL. To do this, we’ll create another file called
urls.pyin the same directory asviews.py. We already have aurls.pyfile for the whole project, but it is best to have a separate one for each individual app. - Inside our new
urls.py, we’ll create a list of url patterns that a user might visit while using our website. In order to do this:- We have to make some imports:
from django.urls import pathwill give us the ability to reroute URLSs, andfrom . import viewswill import any functions we’ve created inviews.py. - Create a list called
urlpatterns - For each desired URL, add an item to the
urlpatternslist that contains a call to thepathfunction with two or three arguments: A string representing the URL path, a function fromviews.pythat we wish to call when that URL is visited, and (optionally) a name for that path, in the formatname="something". For example, here’s what our simple app looks like now:
from django.urls import path from . import views urlpatterns = [ path("", views.index, name="index") ] - We have to make some imports:
-
Now, we’ve created a
urls.pyfor this specific application, and it’s time to edit theurls.pycreated for us for the entire project. When you open this file, you should see that there’s already a path calledadminwhich we’ll go over in later lectures. We want to add another path for our new app, so we’ll add an item to theurlpatternslist. This follows the same pattern as our earlier paths, except instead of adding a function fromviews.pyas our second argument, we want to be able to include all of the paths from theurls.pyfile within our application. To do this, we write:include("APP_NAME.urls"), whereincludeis a function we gain access to by also importingincludefromdjango.urlsas shown in theurls.pybelow:from django.contrib import admin from django.urls import path, include urlpatterns = [ path('admin/', admin.site.urls), path('hello/', include("hello.urls")) ] - By doing this, we’ve specified that when a user visits our site, and then in the search bar adds
/helloto the URL, they’ll be redirected to the paths inside of our new application.
Now, when I start my application using python manage.py runserver and visit the url provided, I’m met with this screen:
 But this is because we have only defined the URL
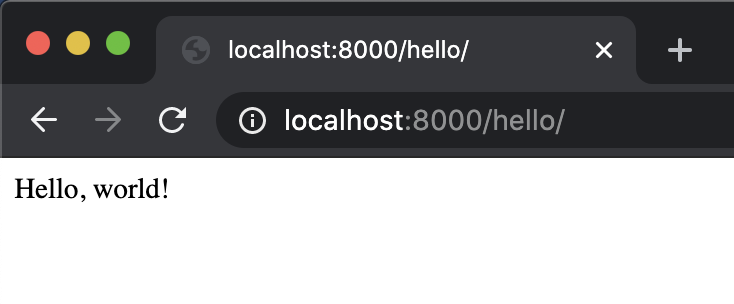
 localhost:8000/hello, but we haven’t defined the URL localhost:8000 with nothing added to the end. So, when I add /hello to the URL in my search bar:
 Now that we’ve had some success, let’s go over what just happened to get us to that point:
- When we accessed the URL
localhost:8000/hello/, Django looked at what came after the base URL (localhost:8000/) and went to our project’surls.pyfile and searched for a pattern that matchedhello. - It found that extension because we defined it, and saw that when met with that extension, it should
includeoururls.pyfile from within our application. - Then, Django ignored the parts of the URL it has already used in rerouting (
localhost:8000/hello/, or all of it) and looked inside our otherurls.pyfile for a pattern that matches the remaining part of the URL. - It found that our only path so far (
"") matched what was left of the URL, and so it directed us to the function fromviews.pyassociated with that path. - Finally, Django ran that function within
views.py, and returned the result (HttpResponse("Hello, world!")) to our web browser.
Now, if we want to, we can change the index function within views.py to return anything we want it to! We could even keep track of variables and do calculations within the function before eventually returning something.
Now, let’s take a look at how we can add more than one view to our application. We can follow many of the same steps within our application to create pages that say hello to Brian and David.
Inside views.py:
 from django.shortcuts import render
 from django.http import HttpResponse

 # Create your views here.

 def index(request):
     return HttpResponse("Hello, world!")
def brian(request):
return HttpResponse("Hello, Brian!")
def david(request):
return HttpResponse("Hello, David!")
Inside urls.py (within our application)
from django.urls import path
from . import views

urlpatterns = [
    path("", views.index, name="index"),
    path("brian", views.brian, name="brian"),
    path("david", views.david, name="david")
]
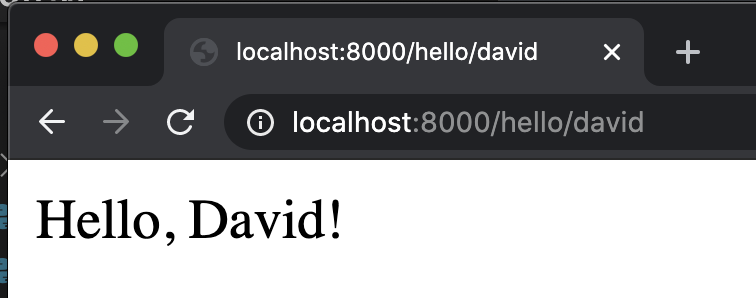
Now, our site remains unchanged when we visit localhost:8000/hello, but we get different pages when we add brian or david to the URL:

Many sites are parameterized by items included in the URL. For example, going to www.twitter.com/cs50 will show you all of CS50’s tweets, and going to www.github.com/cs50 will bring you to CS50’s GitHub page. You can even find your own public GitHub repositories by navigating to www.github.com/YOUR_USERNAME!
In thinking about how this is implemented, it seems impossible that sites like GitHub and Twitter would have an individual URL path for each of its users, so let’s look into how we could make a path that’s a bit more flexible. We’ll start by adding a more general function, called greet, to views.py:
def greet(request, name):
    return HttpResponse(f"Hello, {name}!")
This function takes in not only a request, but also an additional argument of a user’s name, and then returns a custom HTTP Response based on that name. Next, we have to create a more flexible path in urls.py, which could look something like this:
path("<str:name>", views.greet, name="greet")
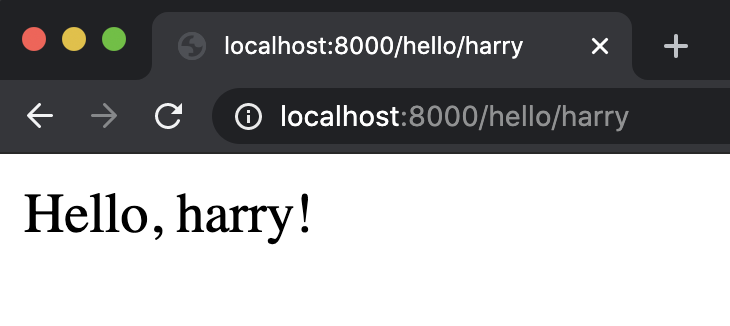
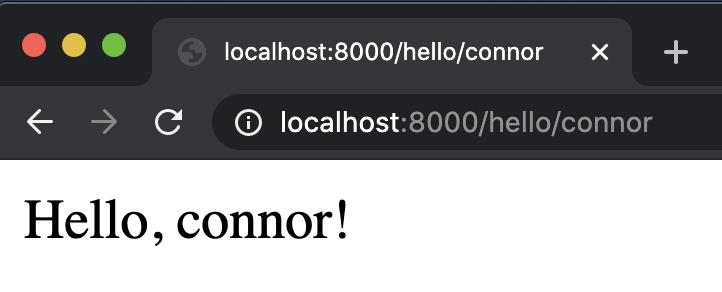
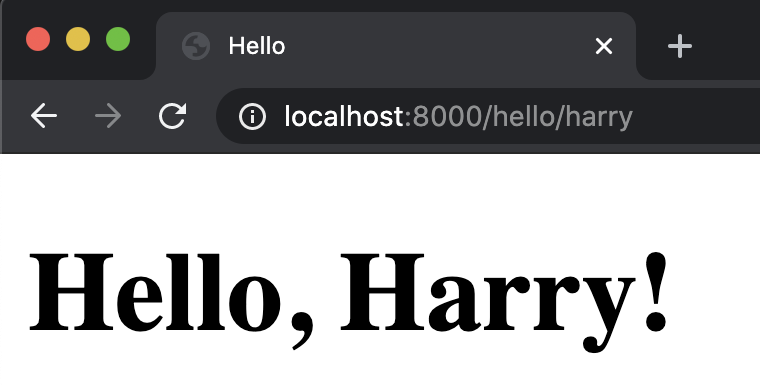
This is some new syntax, but essentially what’s going on here is we’re no longer looking for a specific word or name in the URL, but any string that a user might enter. Now, we can try the site out with a few other URLs:
I can even make these look a little bit nicer, by augmenting the greet function to utilize Python’s capitalize function that capitalizes a string:
def greet(request, name):
    return HttpResponse(f"Hello, {name.capitalize()}!")
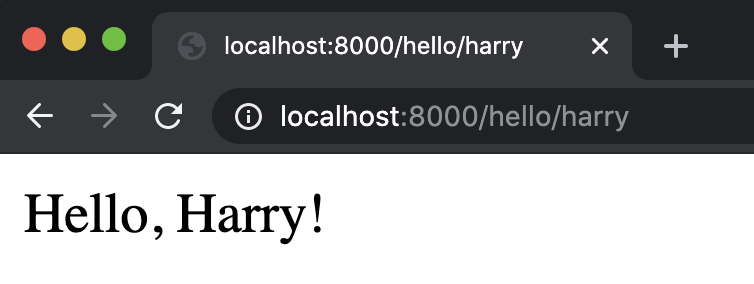
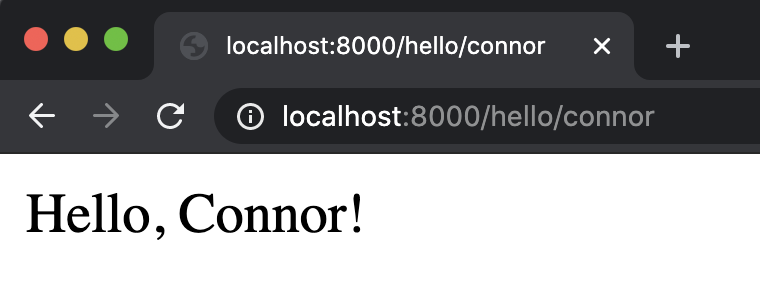
This is a great illustration of how any functionality we have in Python can be used in Django before being returned.
Templates
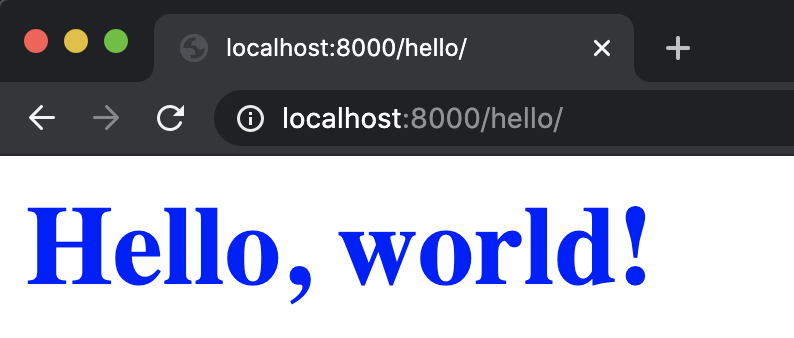
So far, our HTTP Responses, have been only text, but we can include any HTML elements we want to! For example, I could decide to return a blue header instead of just the text in our index function:
def index(request):
    return HttpResponse("<h1 style=\"color:blue\">Hello, world!</h1>")
It would get very tedious to write an entire HTML page within views.py. It would also constitute bad design, as we want to keep separate parts of our project in separate files whenever possible.
This is why we’ll now introduce Django’s templates, which will allow us to write HTML and CSS in separate files and render those files using Django. The syntax we’ll use for rendering a template looks like this:
def index(request):
    return render(request, "hello/index.html")
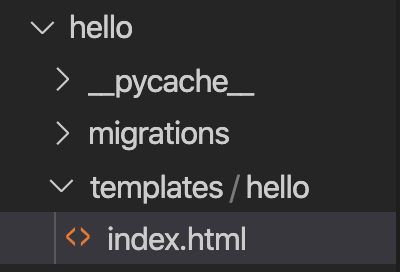
Now, we’ll need to create that template. To do this, we’ll create a folder called templates inside our app, then create a folder called hello (or whatever our app’s name is) within that, and then add a file called index.html.
Next, we’ll add whatever we want to that new file:
<!DOCTYPE html>
<html lang="en">
<head>
<title>Hello</title>
</head>
<body>
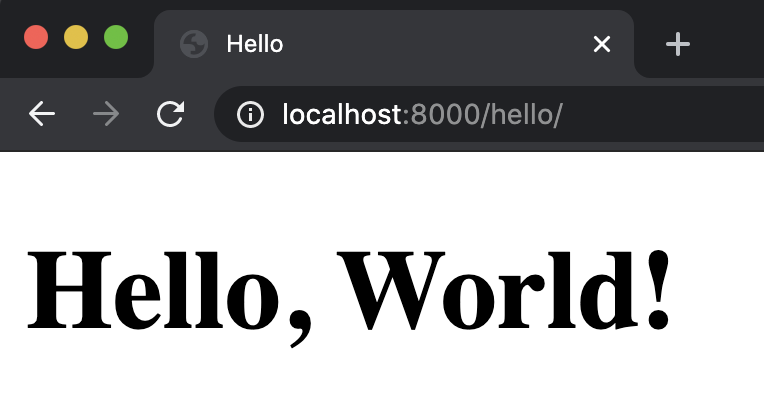
<h1>Hello, World!</h1>
</body>
</html>
Now, when we visit the main page of our application, we can see the header and title have been updated:
In addition to writing some static HTML pages, we can also use Django’s templating language to change the content of our HTML files based on the URL visited. Let’s try it out by changing our greet function from earlier:
def greet(request, name):
    return render(request, "hello/greet.html", {
        "name": name.capitalize()
    })
Notice that we passed a third argument into the render function here, one that is known as the context. In this context, we can provide information that we would like to have available within our HTML files. This context takes the form of a Python dictionary. Now, we can create a greet.html file:
<!DOCTYPE html>
<html lang="en">
    <head>
        <title>Hello</title>
    </head>
    <body>
        <h1>Hello, {{ name }}!</h1>
    </body>
</html>
You’ll noticed that we used some new syntax: double curly brackets. This syntax allows us to access variables that we’ve provided in the context argument. Now, when we try it out:

Now, we’ve seen how we can modify our HTML templates based on the context we provide. However, the Django templating language is even more powerful than that, so let’s take a look at a few other ways it can be helpful:
Conditionals:
We may want to change what is displayed on our website depending on some conditions. For example, if you visit the site www.isitchristmas.com, you’ll probably be met with a page that looks like this:
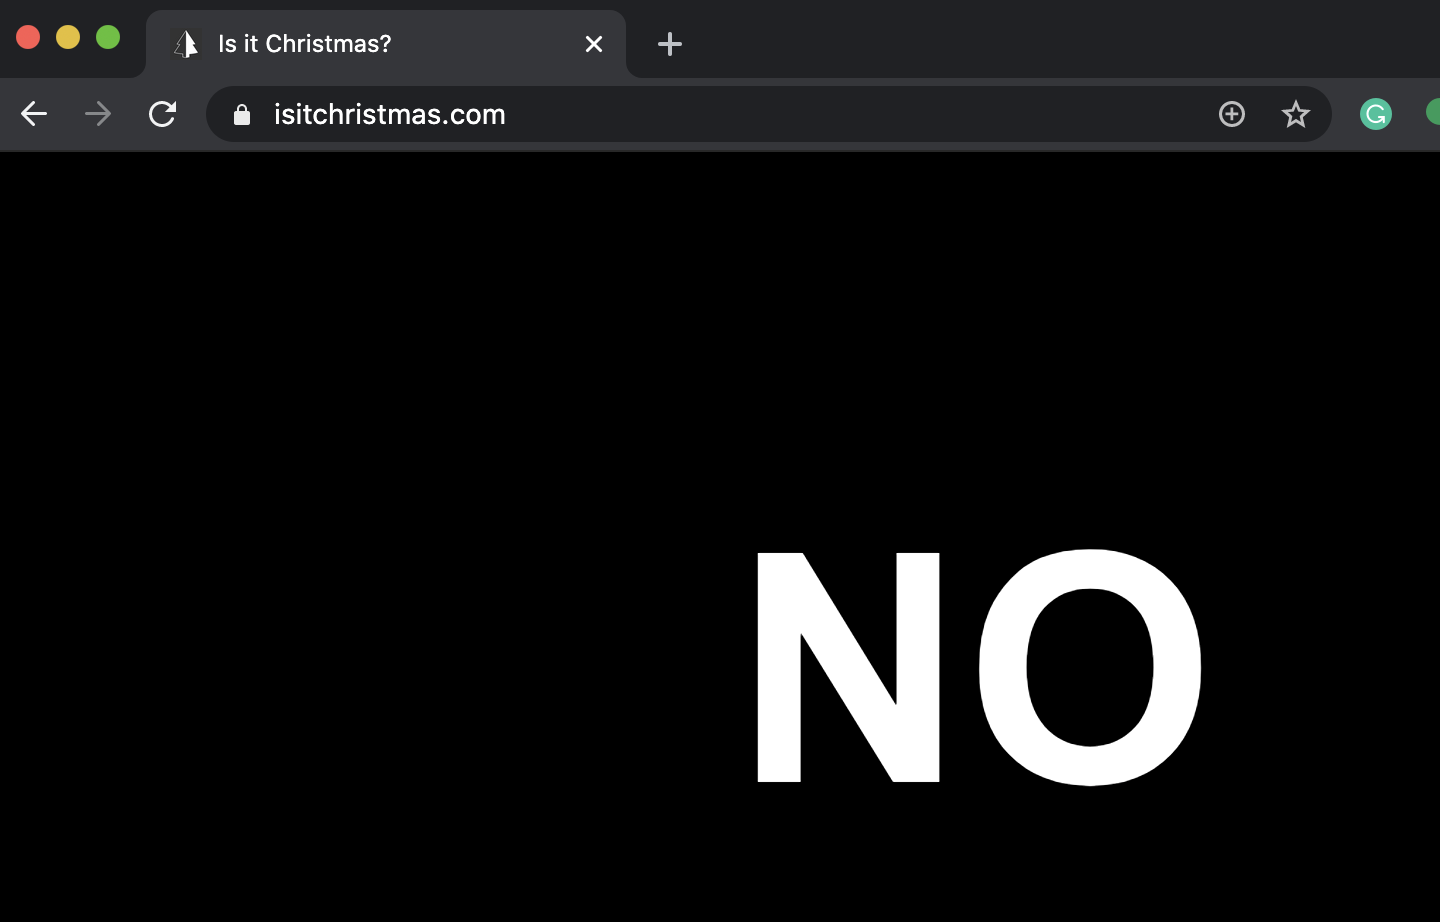 But this website will change on Christmas day, when the website will say YES. To make something like this for ourselves, let’s try creating a similar application, where we check whether or not it is New Year’s Day. Let’s create a new app to do so, recalling our process for creating a new app:
- run
python manage.py startapp newyearin the terminal. - Edit
settings.py, adding “newyear” as one of ourINSTALLED_APPS - Edit our project’s
urls.pyfile, and include a path similar to the one we created for thehelloapp:
path('newyear/', include("newyear.urls"))
- Create another
urls.pyfile within our new app’s directory, and update it to include a path similar to the index path inhello:
from django.urls import path
from . import views

urlpatterns = [
    path("", views.index, name="index"),
]
- Create an index function in
views.py.
Now that we’re set up with our new app, let’s figure out how to check whether or not it’s New Year’s Day. To do this, we can import Python’s datetime module. To get a sense for how this module works, we can look at the documentation, and then test it outside of Django using the Python interpreter.
- The Python interpreter is a tool we can use to test out small chunks of Python code. To use this, run
pythonin your terminal, and then you’ll be able to type and run Python code within your terminal. When you’re done using the interpreter, runexit()to leave.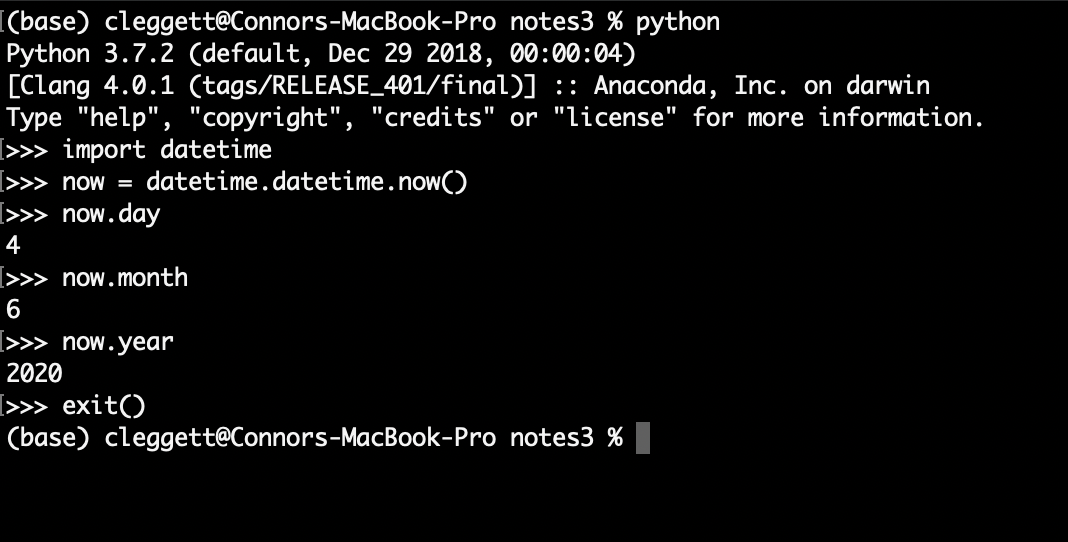
- We can use this knowledge to construct a boolean expression that will evaluate to True if and only if today is New Year’s Day:
now.day == 1 and now.month == 1 - Now that we have an expression we can use to evaluate whether or not it’s New Year’s Day, we can update our index function in
views.py:
def index(request):
    now = datetime.datetime.now()
    return render(request, "newyear/index.html", {
        "newyear": now.month == 1 and now.day == 1
    })
Now, let’s create our index.html template. We’ll have to again create a new folder called templates, a folder within that called newyear, and a file within that called index.html. Inside that file, we’ll write something like this:
<!DOCTYPE html>
<html lang="en">
    <head>
        <title>Is it New Year's?</title>
    </head>
    <body>
        {% if newyear -%}
            <h1>YES</h1>
        {%- else -%}
            <h1>NO</h1>
        {%- endif %}
    </body>
</html>
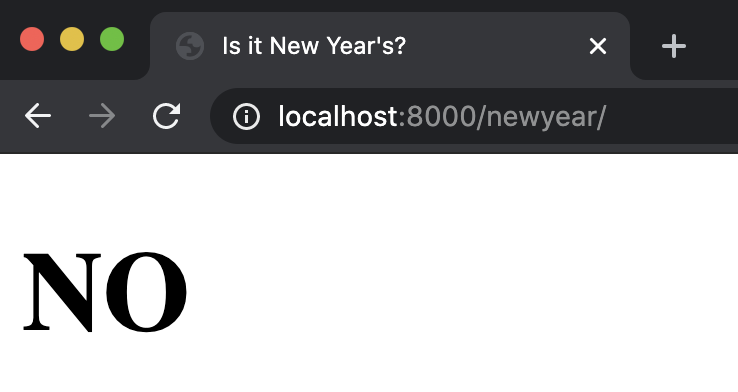
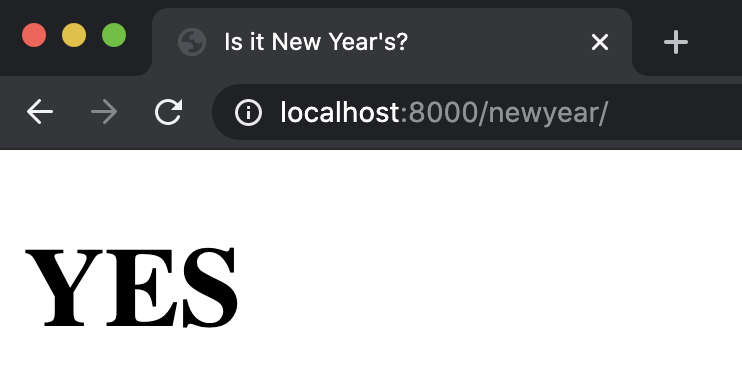
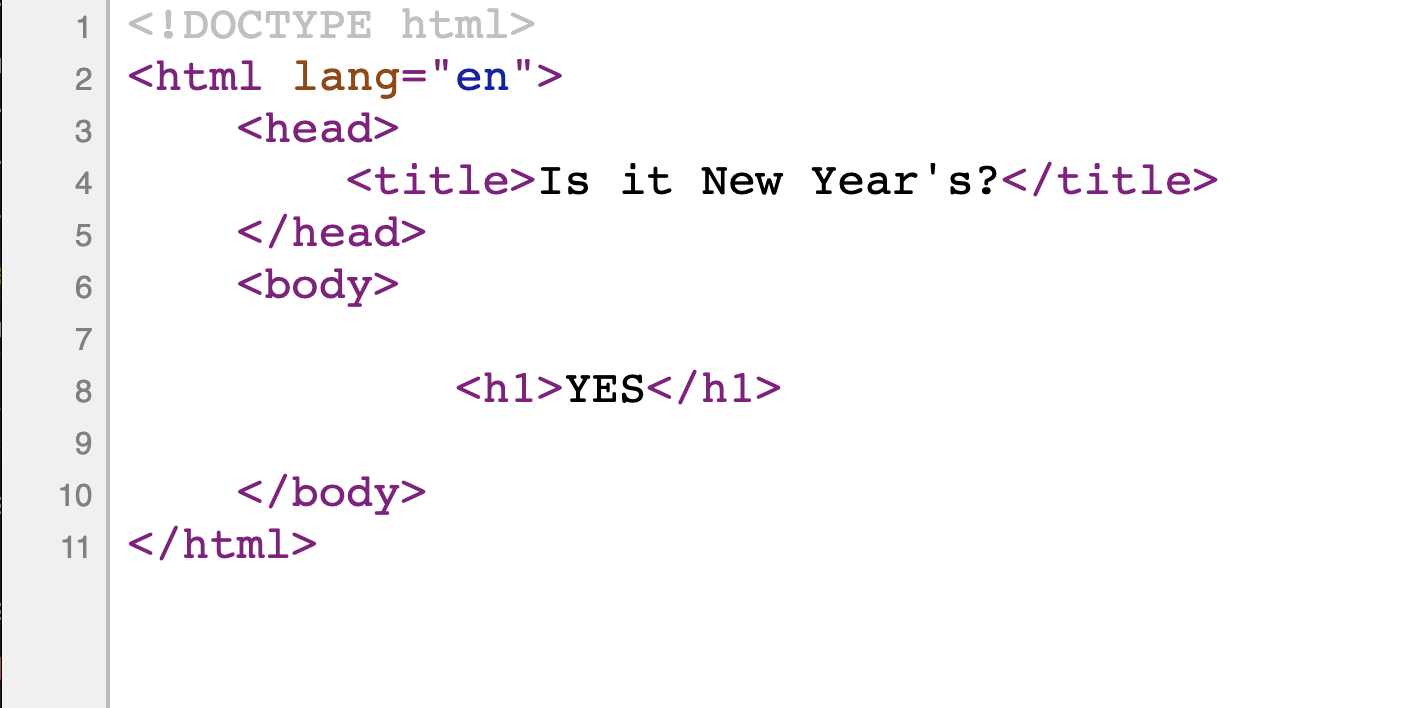
In the code above, notice that when we wish to include logic in our HTML files, we use {% and %} as opening and closing tags around logical statements. Also note that Django’s formatting language requires you to include an ending tag indicating that we are done with our if-else block. Now, we can open up to our page to see:
Now, to get a better idea of what’s going on behind the scenes, let’s inspect the element of this page:
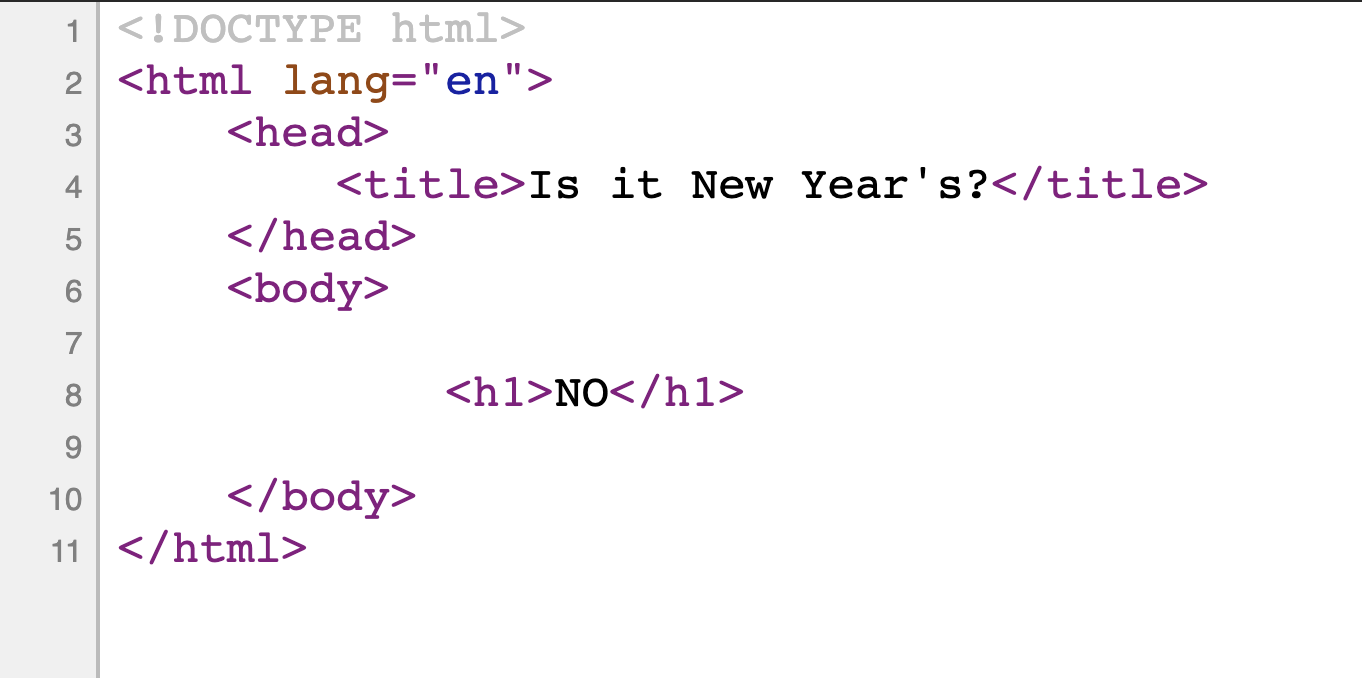
Notice that the HTML that is actually being sent to your web browser includes only the NO header, meaning that Django is using the HTML template we wrote to create a new HTML file, and then sending it to our web browser. If we cheat a little bit and make sure that our condition is always true, we see that the opposite case is filled:
def index(request):
    now = datetime.datetime.now()
    return render(request, "newyear/index.html", {
        "newyear": True
    })
Styling
If we want to add a CSS file, which is a static file because it doesn’t change, we’ll first create a folder called static, then create a newyear folder within that, and then a styles.css file within that. In this file, we can add any styling we wish just as we did in the first lecture:
h1 {
    font-family: sans-serif;
    font-size: 90px;
    text-align: center;
}
Now, to include this styling in our HTML file, we add the line {% load static %} to the top of our HTML template, which signals to Django that we wish to have access to the files in our static folder. Then, rather than hard-coding the link to a stylesheet as we did before, we’ll use some Django-specific syntax:
<link rel="stylesheet" href="{% static 'newyear/styles.css' %}">
Now, if we restart the server, we can see that the styling changes were in fact applied:
Tasks
Now, let’s take what we’ve learned so far and apply it to a mini-project: creating a TODO list. Let’s start by, once again, creating a new app:
- run
python manage.py startapp tasksin the terminal. - Edit
settings.py, adding “tasks” as one of ourINSTALLED_APPS -
Edit our project’s
urls.pyfile, and include a path similar to the one we created for thehelloapp:path('tasks/', include("tasks.urls")) -
Create another
urls.pyfile within our new app’s directory, and update it to include a path similar to the index path inhello:from django.urls import path from . import views urlpatterns = [ path("", views.index, name="index"), ] - Create an index function in
views.py.
Now, let’s begin by attempting to simply create a list of tasks and then display them to a page. Let’s create a Python list at the top of views.py where we’ll store our tasks. Then, we can update our index function to render a template, and provide our newly-created list as context.
from django.shortcuts import render

tasks = ["foo", "bar", "baz"]

# Create your views here.
def index(request):
    return render(request, "tasks/index.html", {
        "tasks": tasks
    })
Now, let’s work on creating our template HTML file:
<!DOCTYPE html>
<html lang="en">
    <head>
        <title>Tasks</title>
    </head>
    <body>
        <ul>
            {% for task in tasks %}
                <li>{{ task }}</li>
            {% endfor %}
        </ul>
    </body>
</html>
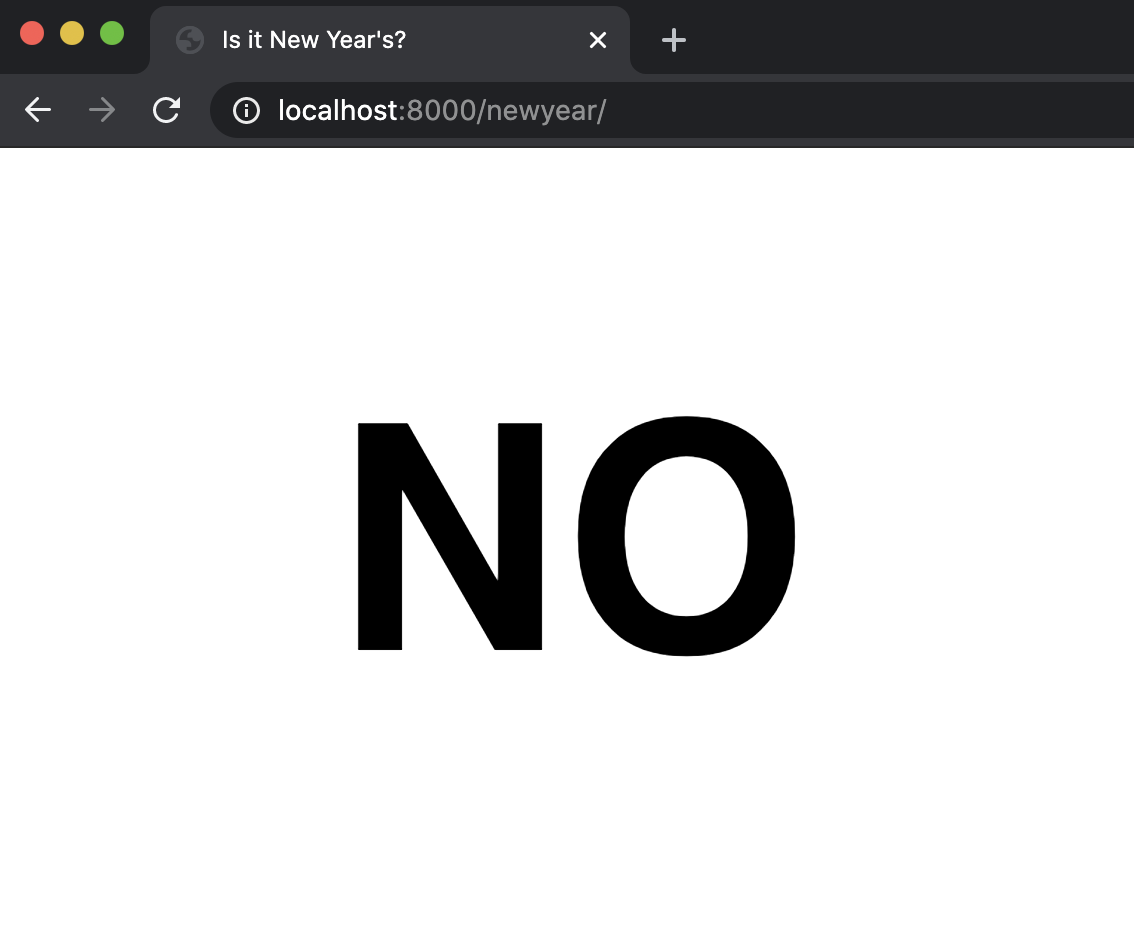
Notice here that we are able to loop over our tasks using syntax similar to our conditionals from earlier, and also similar to a Python loop from Lecture 2. When we go to the tasks page now, we can see our list being rendered:
Forms
Now that we can see all of our current tasks as a list, we may want to be able to add some new tasks. To do this we’ll start taking a look at using forms to update a web page. Let’s begin by adding another function to views.py that will render a page with a form for adding a new task:
# Add a new task:
def add(request):
    return render(request, "tasks/add.html")
Next, make sure to add another path to urls.py:
path("add", views.add, name="add")
Now, we’ll create our add.html file, which is fairly similar to index.html, except that in the body we’ll include a form rather than a list:
<!DOCTYPE html>
<html lang="en">
    <head>
        <title>Tasks</title>
    </head>
    <body>
        <h1>Add Task:</h1>
        <form action="">
            <input type="text" name="task">
            <input type="submit">
        </form>
    </body>
</html>
However, what we’ve just done isn’t necessarily the best design, as we’ve just repeated the bulk of that HTML in two different files. Django’s templating language gives us a way to eliminate this poor design: template inheritance. This allows us to create a layout.html file that will contain the general structure of our page:
<!DOCTYPE html>
<html lang="en">
    <head>
        <title>Tasks</title>
    </head>
    <body>
        {% block body %}
        {% endblock %}
    </body>
</html>
Notice that we’ve again used {%...%} to denote some sort of non-HTML logic, and in this case, we’re telling Django to fill this “block” with some text from another file. Now, we can alter our other two HTML files to look like:
index.html:
{% extends "tasks/layout.html" %}

{% block body %}
    <h1>Tasks:</h1>
    <ul>
        {% for task in tasks %}
            <li>{{ task }}</li>
        {% endfor %}
    </ul>
{% endblock %}
add.html:
{% extends "tasks/layout.html" %}

{% block body %}
    <h1>Add Task:</h1>
    <form action="">
        <input type="text" name="task">
        <input type="submit">
    </form>
{% endblock %}
Notice how we can now get rid of much of the repeated code by extending our layout file. Now, our index page remains the same, and we now have an add page as well:
Next, it’s not ideal to have to type “/add” in the URL any time we want to add a new task, so we’ll probably want to add some links between pages. Instead of hard-coding links though, we can now use the name variable we assigned to each path in urls.py, and create a link that looks like this:
<a href="{% url 'add' %}">Add a New Task</a>
where ‘add’ is the name of that path. We can do a similar thing in our add.html:
<a href="{% url 'index' %}">View Tasks</a>
This could potentially create a problem though, as we have a few routes named index throughout our different apps. We can solve this by going into each of our app’s urls.py file, and adding an app_name variable, so that the files now look something like this:
from django.urls import path
from . import views

app_name = "tasks"
urlpatterns = [
    path("", views.index, name="index"),
    path("add", views.add, name="add")
]
We can then change our links from simply index and add to tasks:index and tasks:add
<a href="{% url 'tasks:index' %}">View Tasks</a>

<a href="{% url 'tasks:add' %}">Add a New Task</a>
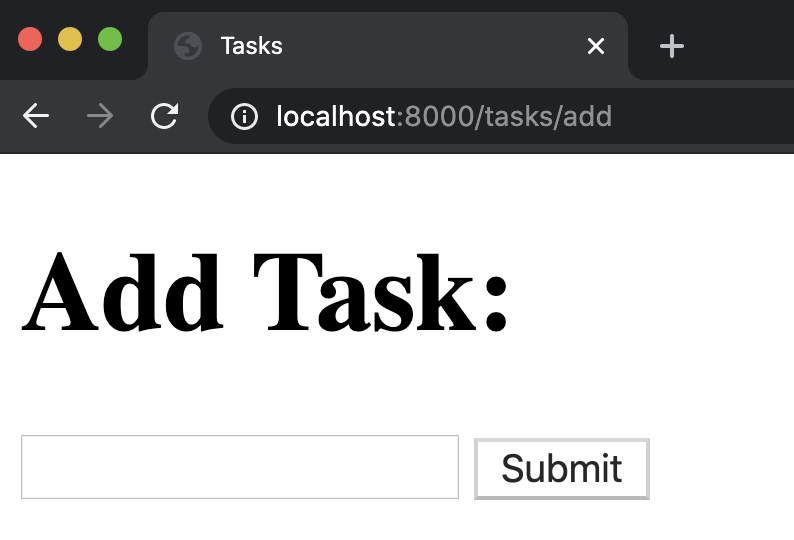
Now, let’s work on making sure the form actually does something when the user submits it. We can do this by adding an action to the form we have created in add.html:
<form action="{% url 'tasks:add' %}" method="post">
This means that once the form is submitted, we will be routed back to the add URL. Here we’ve specified that we’ll be using a post method rather than a get method, which is typically what we’ll use any time a form could alter the state of that web page.
We need to add a bit more to this form now, because Django requires a token to prevent Cross-Site Request Forgery (CSRF) Attack. This is an attack where a malicious user attempts to send a request to your server from somewhere other than your site. This could be a really big problem for some websites. Say, for example, that a banking website has a form for one user to transfer money to another one. It would be catastrophic if someone could submit a transfer from outside of the bank’s website!
To solve this problem, when Django sends a response rendering a template, it also provides a CSRF token that is unique with each new session on the site. Then, when a request is submitted, Django checks to make sure the CSRF token associated with the request matches one that it has recently provided. Therefore, if a malicious user on another site attempted to submit a request, they would be blocked due to an invalid CSRF token. This CSRF validation is built into the Django Middleware framework, which can intervene in the request-response processing of a Django app. We won’t go into any more detail about Middleware in this course, but do look at the documentation if interested!
To incorporate this technology into our code, we must add a line to our form in add.html.
<form action="{% url 'tasks:add' %}" method="post">
    {% csrf_token %}
    <input type="text" name="task">
    <input type="submit">
</form>
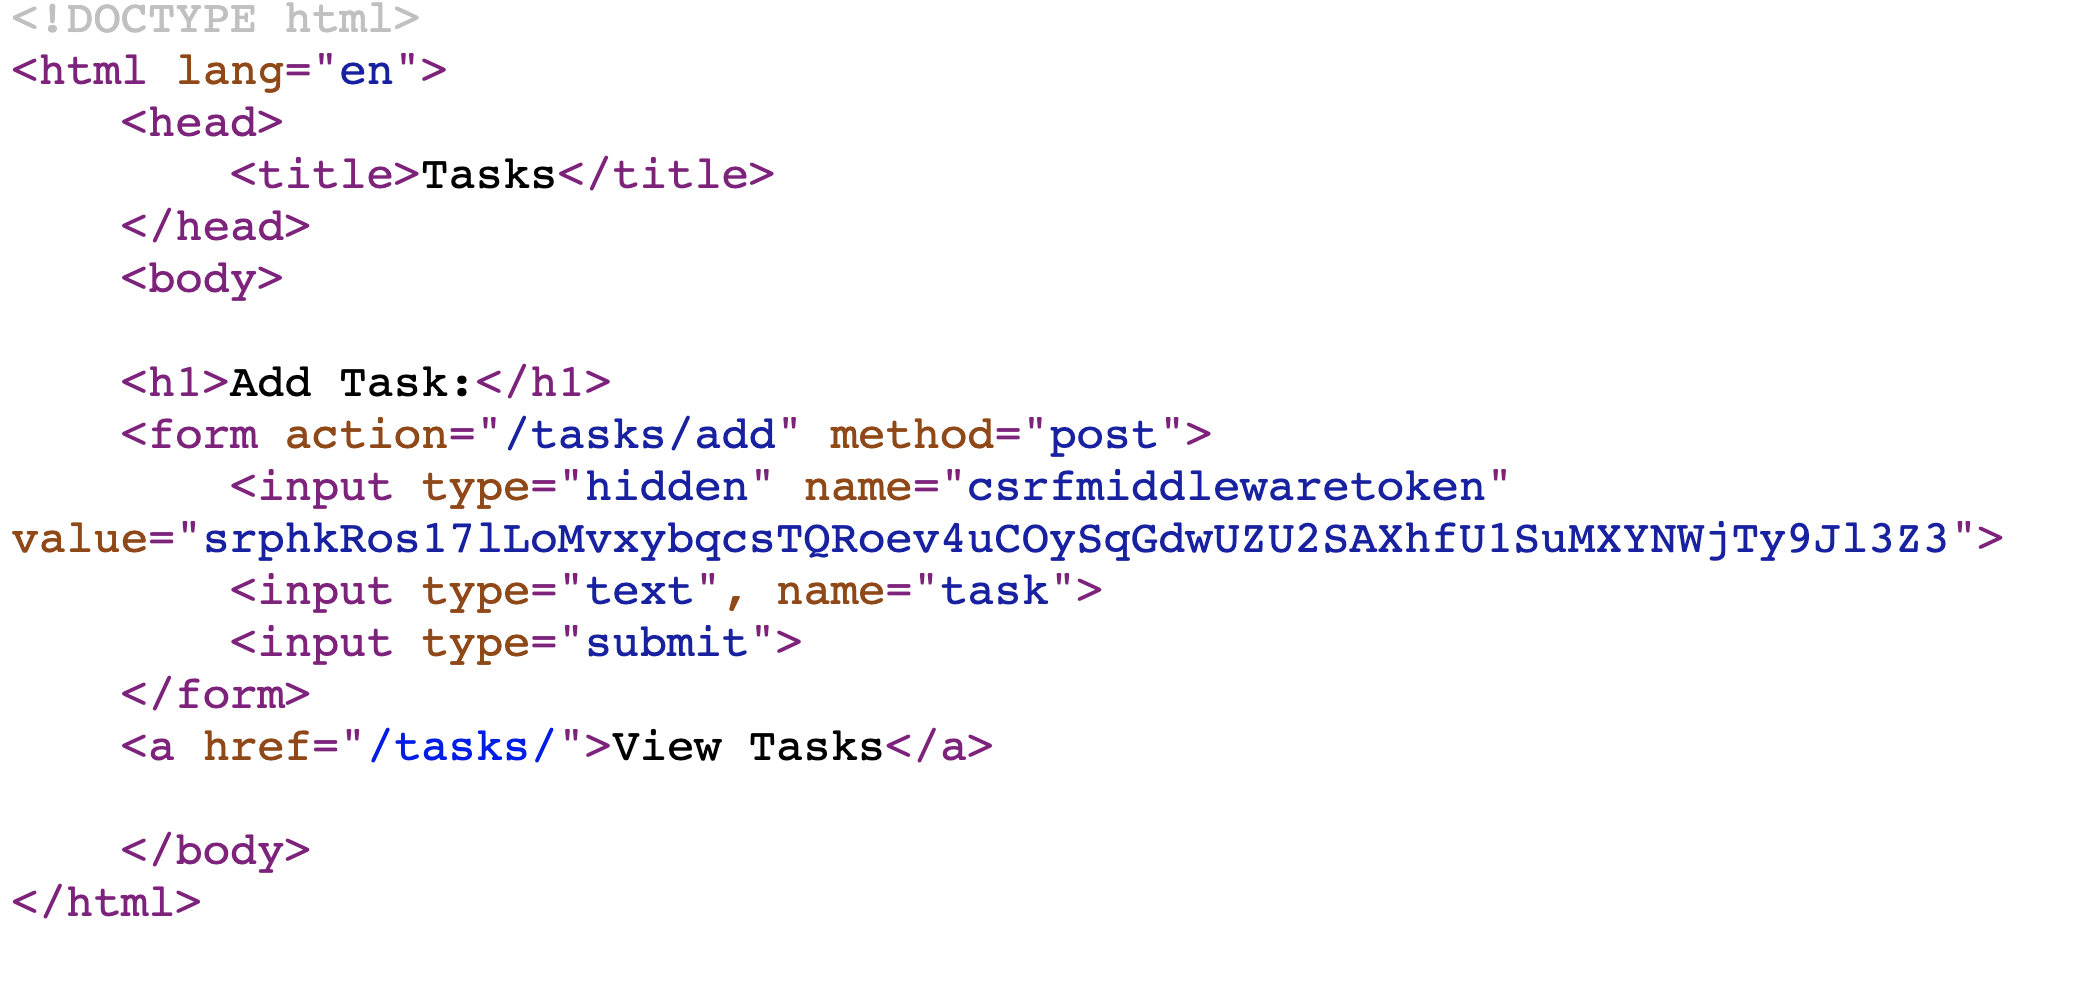
This line adds a hidden input field with the CSRF token provided by Django, such that when we reload the page, it looks as though nothing has changed. However, if we inspect element, we’ll notice that a new input field has been added:
Django Forms
While we can create forms by writing raw HTML as we’ve just done, Django provides an even easier way to collect information from a user: Django Forms. In order to use this method, we’ll add the following to the top of views.py to import the forms module:
from django import forms
Now, we can create a new form within views.py by creating a Python class called NewTaskForm:
class NewTaskForm(forms.Form):
    task = forms.CharField(label="New Task")
Now, let’s go through what’s going on in that class:
- Inside the parentheses after
NewTaskForm, we see that we haveforms.Form. This is because our new form inherits from a class calledFormthat is included in theformsmodule. We’ve already seen how inheritance can be used in Django’s templating language and for styling using Sass. This is another example of how inheritance is used to take a more general description (theforms.Formclass) and narrow it down to what we want (our new Form). Inheritance is a key part of Object Oriented Programming that we won’t discuss in detail during this course, but there are many online resources available to learn about the topic! - Inside this class, we can specify what information we would like to collect from the user, in this case the name of a task.
- We specify that this should be a textual input by writing
forms.CharField, but there are many other input fields included in Django’s form module that we can choose from. - Within this
CharField, we specify alabel, which will appear to the user when they load the page. Alabelis just one of many arguments we can pass into a form field.
Now that we’ve created a NewTaskForm class, we can include it in the context while rendering the add page:
# Add a new task:
def add(request):
    return render(request, "tasks/add.html", {
        "form": NewTaskForm()
    })
Now, within add.html, we can replace our input field with the form we just created:
{% extends "tasks/layout.html" %}

{% block body %}
    <h1>Add Task:</h1>
    <form action="{% url 'tasks:add' %}" method="post">
        {% csrf_token %}
        {{ form }}
        <input type="submit">
    </form>
    <a href="{% url 'tasks:index' %}">View Tasks</a>
{% endblock %}
There are several advantages to using the forms module rather than manually writing an HTML form:
- If we want to add new fields to the form, we can simply add them in
views.pywithout typing additional HTML. - Django automatically performs client-side validation, or validation local to the user’s machine. meaning it will not allow a user to submit their form if it is incomplete.
- Django provides simple server-side validation, or validation that occurs once form data has reached the server.
- In the next lecture, we’ll begin using models to store information, and Django makes it very simple to create a form based on a model.
Now that we have a form set up, let’s work on what happens when a user clicks the submit button. When a user navigates to the add page by clicking a link or typing in the URL, they submit a GET request to the server, which we’ve already handled in our add function. When a user submits a form though, they send a POST request to the server, which at the moment is not handled in the add function. We can handle a POST method by adding a condition based on the request argument our function takes in. The comments in the code below explain the purpose of each line:
# Add a new task:
def add(request):

    # Check if method is POST
    if request.method == "POST":

        # Take in the data the user submitted and save it as form
        form = NewTaskForm(request.POST)

        # Check if form data is valid (server-side)
        if form.is_valid():

            # Isolate the task from the 'cleaned' version of form data
            task = form.cleaned_data["task"]

            # Add the new task to our list of tasks
            tasks.append(task)

            # Redirect user to list of tasks
            return HttpResponseRedirect(reverse("tasks:index"))

        else:

            # If the form is invalid, re-render the page with existing information.
            return render(request, "tasks/add.html", {
                "form": form
            })

    return render(request, "tasks/add.html", {
        "form": NewTaskForm()
    })
A quick note: in order to redirect the user after a successful submission, we need a few more imports:
from django.urls import reverse
from django.http import HttpResponseRedirect
Sessions
At this point, we’ve successfully built an application that allows us to add tasks to a growing list. However, it may be a problem that we store these tasks as a global variable, as it means that all of the users who visit the page see the exact same list. In order to solve this problem we’re going to employ a tool known as sessions.
Sessions are a way to store unique data on the server side for each new visit to a website.
To use sessions in our application, we’ll first delete our global tasks variable, then alter our index function, and finally make sure that anywhere else we had used the variable tasks, we replace it with request.session["tasks"]
def index(request):

    # Check if there already exists a "tasks" key in our session

    if "tasks" not in request.session:

        # If not, create a new list
        request.session["tasks"] = []

    return render(request, "tasks/index.html", {
        "tasks": request.session["tasks"]
    })

# Add a new task:
def add(request):
    if request.method == "POST":

        # Take in the data the user submitted and save it as form
        form = NewTaskForm(request.POST)

        # Check if form data is valid (server-side)
        if form.is_valid():

            # Isolate the task from the 'cleaned' version of form data
            task = form.cleaned_data["task"]

            # Add the new task to our list of tasks
            request.session["tasks"] += [task]

            # Redirect user to list of tasks
            return HttpResponseRedirect(reverse("tasks:index"))
        else:

            # If the form is invalid, re-render the page with existing information.
            return render(request, "tasks/add.html", {
                "form": form
            })

    return render(request, "tasks/add.html", {
        "form": NewTaskForm()
    })
Finally, before Django will be able to store this data, we must run python manage.py migrate in the terminal. Next week we’ll talk more about what a migration is, but for now just know that the above command allows us to store sessions.
That’s all for this lecture! Next time we’ll be working on using Django to store, access, and manipulate data.