Commerce
Design an eBay-like e-commerce auction site that will allow users to post auction listings, place bids on listings, comment on those listings, and add listings to a “watchlist.”
Getting Started
- Download the distribution code from https://cdn.cs50.net/web/2020/spring/projects/2/commerce.zip and unzip it.
- In your terminal,
cdinto thecommercedirectory. - Run
python manage.py makemigrations auctionsto make migrations for theauctionsapp. - Run
python manage.py migrateto apply migrations to your database.
Understanding
In the distribution code is a Django project called commerce that contains a single app called auctions.
First, open up auctions/urls.py, where the URL configuration for this app is defined. Notice that we’ve already written a few URLs for you, including a default index route, a /login route, a /logout route, and a /register route.
Take a look at auctions/views.py to see the views that are associated with each of these routes. The index view for now returns a mostly-empty index.html template. The login_view view renders a login form when a user tries to GET the page. When a user submits the form using the POST request method, the user is authenticated, logged in, and redirected to the index page. The logout_view view logs the user out and redirects them to the index page. Finally, the register route displays a registration form to the user, and creates a new user when the form is submitted. All of this is done for you in the distribution code, so you should be able to run the application now to create some users.
Run python manage.py runserver to start up the Django web server, and visit the website in your browser. Click “Register” and register for an account. You should see that you are now “Signed in as” your user account, and the links at the top of the page have changed. How did the HTML change? Take a look at auctions/templates/auctions/layout.html for the HTML layout of this application. Notice that several parts of the template are wrapped in a check for if user.is_authenticated, so that different content can be rendered depending on whether the user is signed in or not. You’re welcome to change this file if you’d like to add or modify anything in the layout!
Finally, take a look at auctions/models.py. This is where you will define any models for your web application, where each model represents some type of data you want to store in your database. We’ve started you with a User model that represents each user of the application. Because it inherits from AbstractUser, it will already have fields for a username, email, password, etc., but you’re welcome to add new fields to the User class if there is additional information about a user that you wish to represent. You will also need to add additional models to this file to represent details about auction listings, bids, comments, and auction categories. Remember that each time you change anything in auctions/models.py, you’ll need to first run python manage.py makemigrations and then python manage.py migrate to migrate those changes to your database.
Specification
Complete the implementation of your auction site. You must fulfill the following requirements:
- Models: Your application should have at least three models in addition to the
Usermodel: one for auction listings, one for bids, and one for comments made on auction listings. It’s up to you to decide what fields each model should have, and what the types of those fields should be. You may have additional models if you would like. - Create Listing: Users should be able to visit a page to create a new listing. They should be able to specify a title for the listing, a text-based description, and what the starting bid should be. Users should also optionally be able to provide a URL for an image for the listing and/or a category (e.g. Fashion, Toys, Electronics, Home, etc.).
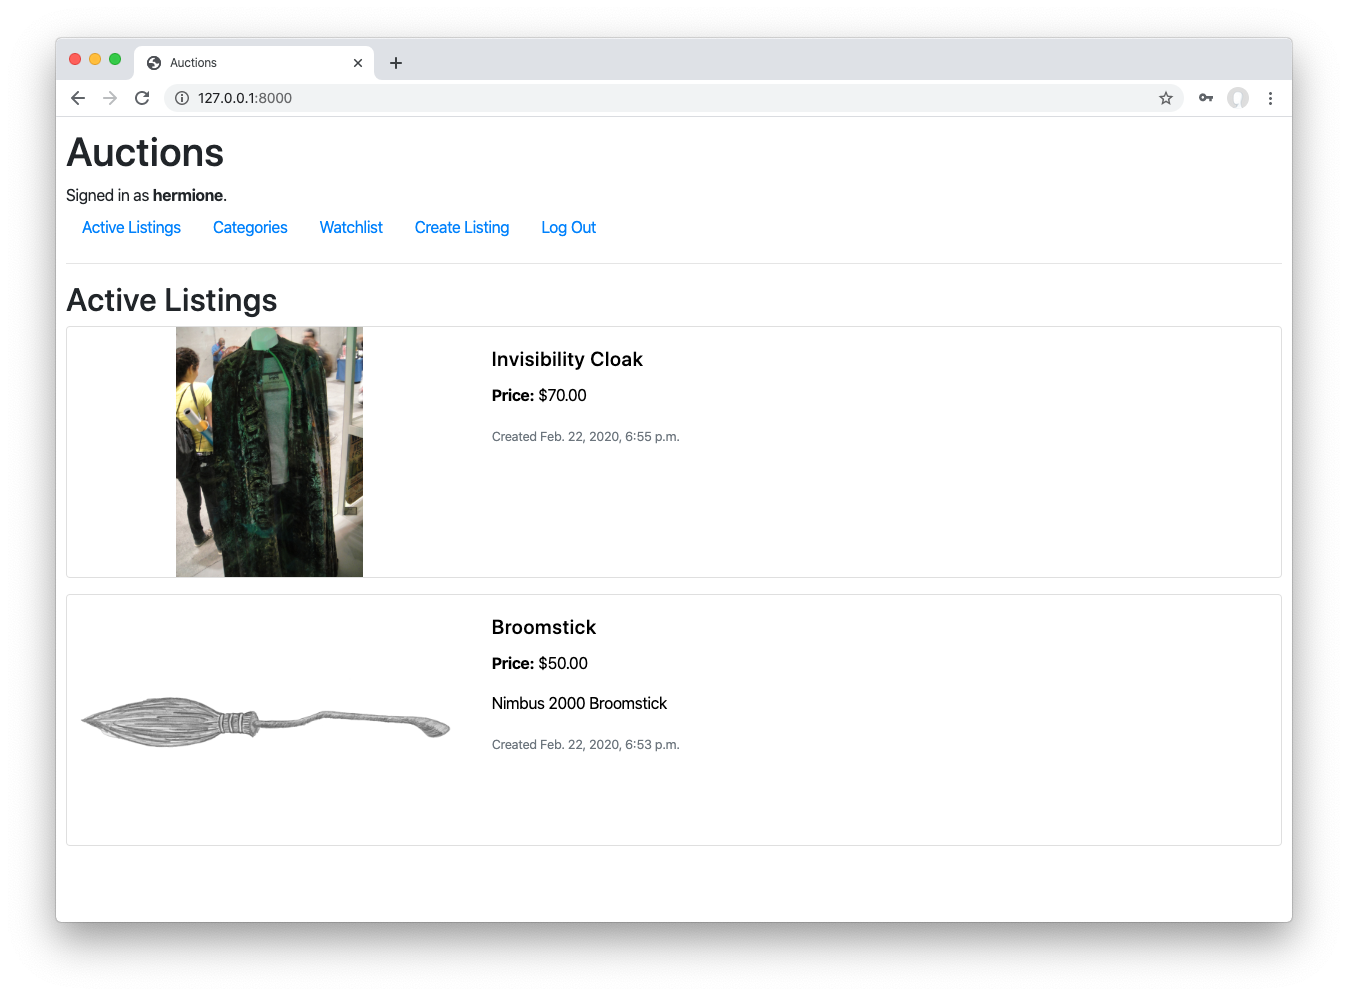
- Active Listings Page: The default route of your web application should let users view all of the currently active auction listings. For each active listing, this page should display (at minimum) the title, description, current price, and photo (if one exists for the listing).
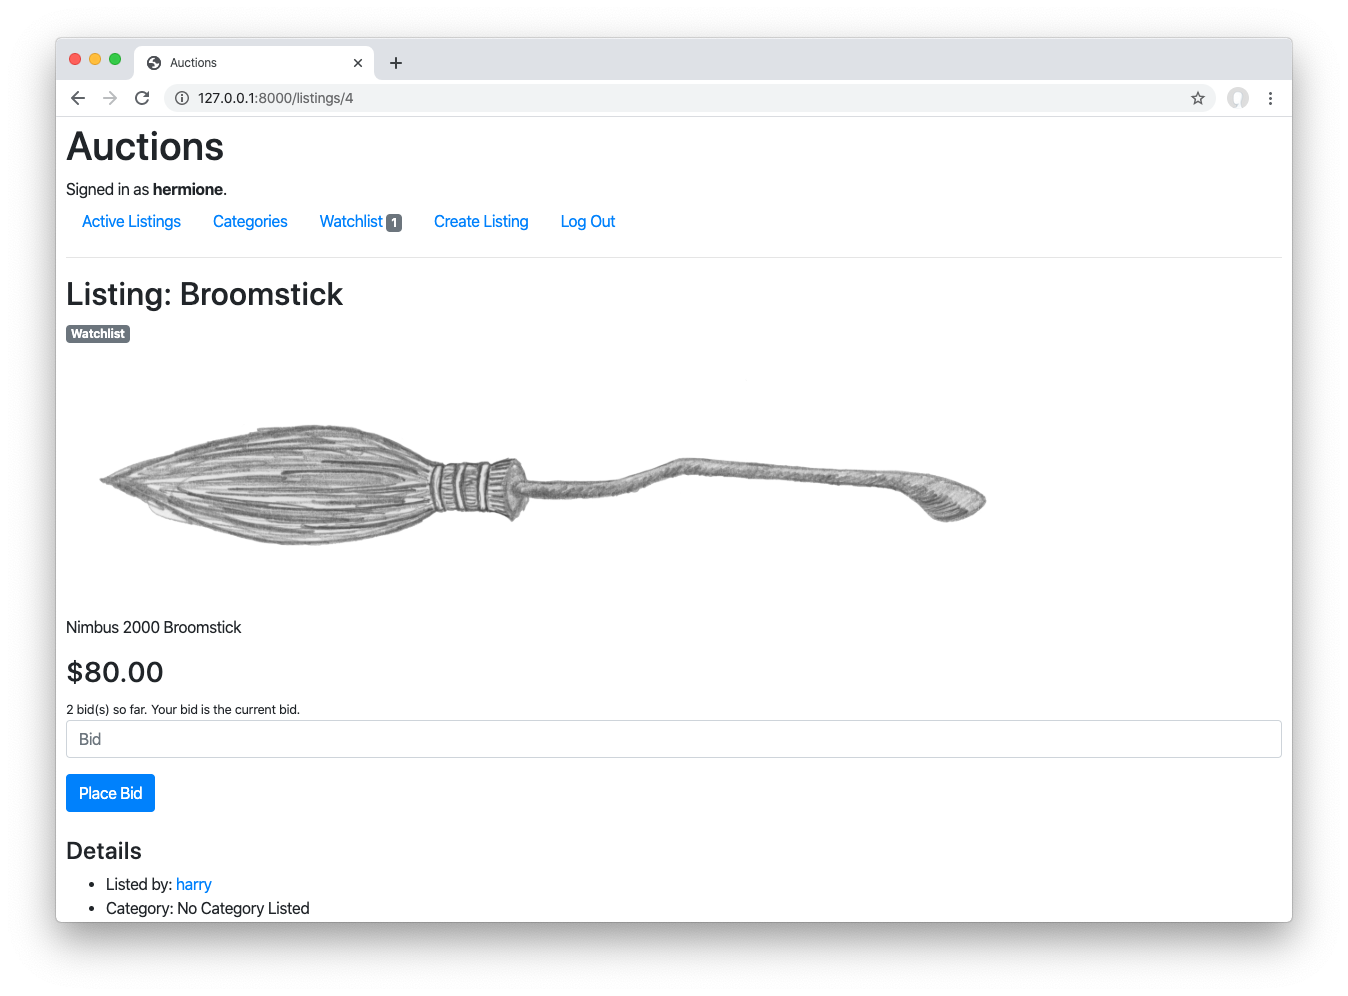
- Listing Page: Clicking on a listing should take users to a page specific to that listing. On that page, users should be able to view all details about the listing, including the current price for the listing.
- If the user is signed in, the user should be able to add the item to their “Watchlist.” If the item is already on the watchlist, the user should be able to remove it.
- If the user is signed in, the user should be able to bid on the item. The bid must be at least as large as the starting bid, and must be greater than any other bids that have been placed (if any). If the bid doesn’t meet those criteria, the user should be presented with an error.
- If the user is signed in and is the one who created the listing, the user should have the ability to “close” the auction from this page, which makes the highest bidder the winner of the auction and makes the listing no longer active.
- If a user is signed in on a closed listing page, and the user has won that auction, the page should say so.
- Users who are signed in should be able to add comments to the listing page. The listing page should display all comments that have been made on the listing.
- Watchlist: Users who are signed in should be able to visit a Watchlist page, which should display all of the listings that a user has added to their watchlist. Clicking on any of those listings should take the user to that listing’s page.
- Categories: Users should be able to visit a page that displays a list of all listing categories. Clicking on the name of any category should take the user to a page that displays all of the active listings in that category.
- Django Admin Interface: Via the Django admin interface, a site administrator should be able to view, add, edit, and delete any listings, comments, and bids made on the site.
Hints
- To create a superuser account that can access Django’s admin interface
- See Django’s Model field reference for possible field types for your Django model.
- You’ll likely need to create some Django forms for various parts of this web application.
- Adding the
@login_requireddecorator on top of any view will ensure that only a user who is logged in can access that view. - You’re welcome to modify the CSS as much as you’d like, to make the website your own! Some sample screenshots are shown at the top of this page. These are meant only to be examples: your application need not be aesthetically the same as the screenshots here (you’re encouraged to be creative!).
How to Submit
If you don’t already have it installed, install submit50 by running pip3 install submit50. Then, execute the below, logging in with your GitHub username and password when prompted. For security, you’ll see asterisks (*) instead of the actual characters in your password.
submit50 web50/projects/2020/spring/commerce